/Imagine Using Midjourney with Uizard to create stunning, editable UI designs

Unless you've been out in the tech wilderness for the past year, you will almost certainly have heard of Midjourney and its uncanny ability to generate stunning, pro-photographer-level imagery from almost any text prompt.
Sure, it might not be the most accessible tool to familiarize yourself with; you'll need to sign up to Discord, join the server, and toil with endless commands before you can even think about posting your creations on Instagram or adding 'prompt engineer' to your LinkedIn profile, but there's no doubting the quality of the outputs it provides.
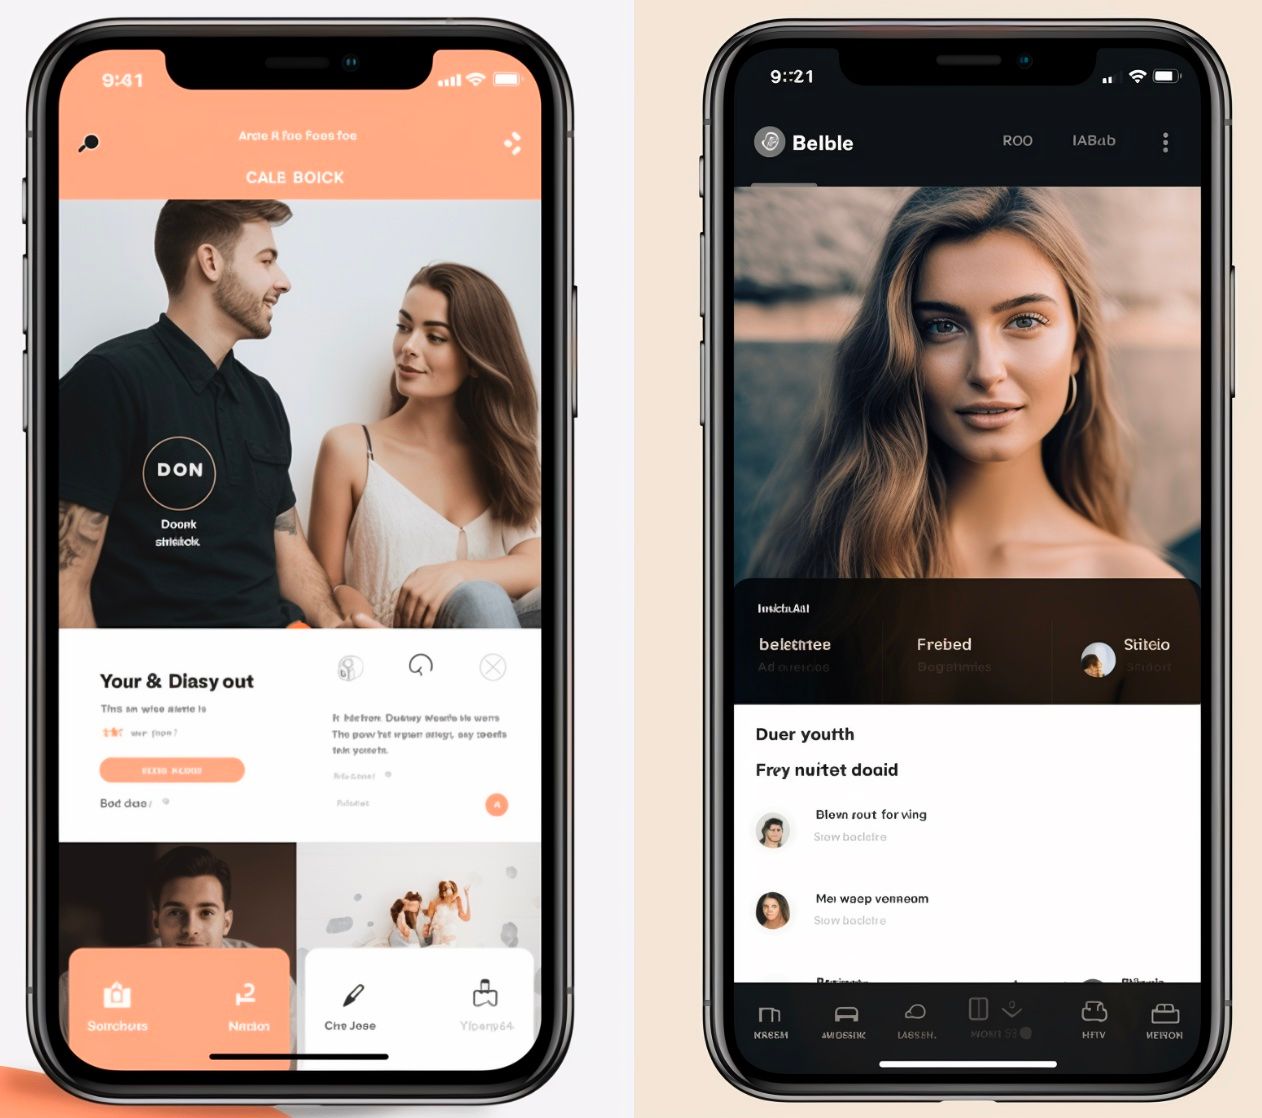
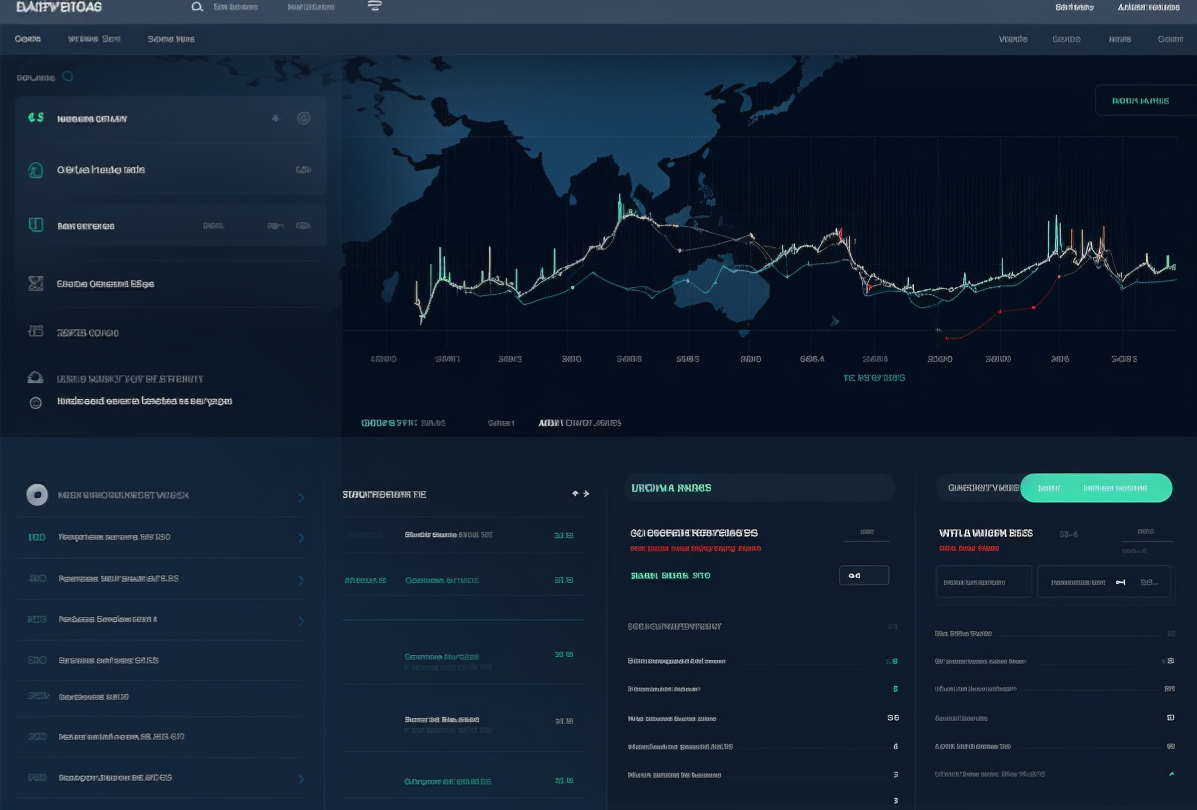
But how does it fare with UI designs? Well, actually surprisingly well - with the right prompts you can create some really creative and exciting app designs. The catch? Midjourney outputs are static images, meaning, if you want to edit or iterate on a travel app UI design generated by Midjourney, for example, you're probably not going to get very far.
That's where Uizard comes in...
By combining Midjourney's powerful image generation capabilities with Uizard's intuitive AI features, you can go from idea to polished multi-screen design in next to no time. Want to know how it's all done? Stay tuned as we walk you through how to turn Midjourney UI designs into editable, clickable prototypes.
Using Midjourney with Uizard to create a travel web app UI design
Skip to section:
What is Midjourney and how do I use it?
Turn Midjourney images into editable designs with Uizard
Generate multi-screen, editable UI designs directly in Uizard!
What is Midjourney and how do I use it?
Put plainly, Midjourney transforms text prompts into vivid images. Just like Uizard's very own Autodesigner, which empowers users to generate editable, multi-screen UI designs from simple text, Midjourney leverages generative AI to produce stunning outputs in a range of styles.
Here's how to use Midjourney in a few quick and easy steps:
How to use Midjourney
- Access Midjourney via Discord: First, log into Discord using a web browser, mobile app, or desktop app. Ensure your Discord account is verified before joining the Midjourney Discord server.
- Subscribe to Midjourney: To use Midjourney's image generation features, subscribe to one of their plans.
- Join the Midjourney server: Next, you'll need to join the Midjourney Discord server. Once you've done this, locate the server list in the left sidebar and join. From here, simply look for channels labelled as general-# or newbie-# which are the best places to get started with image generation.
- Generate your image using the /imagine command: Type '/imagine prompt:' in the message field, followed by your selected prompt (e.g., [/imagine] a dating app landing page)
- Iterate on your image: After entering a prompt, Midjourney will generate 4 versions of your request. From here you can create variations of one or more of the designs or rerun the command completely.

Congratulations, you've successfully generated an app design with Midjourney, job done, right? Sadly, Midjourney can only generate static images, meaning if you want to take the images and use them for an actual project, you're not going to get very far. Thankfully, Uizard can help. With a little AI magic, you can transform images into editable UI designs. Here's how...
Turn Midjourney images into editable designs with Uizard
Want to transform Midjourney app designs into fully editable mockups? With Uizard's Screenshot Scanner, you can do just that. Simply sign up to Uizard, and select 'start from screenshot' from the project dashboard! Alternatively, if you've already started a project, you can select 'Screenshot Scanner' from the Magic tab.
Once you've selected the feature, click the upload button, and select your downloaded Midjourney generated image (be sure to select the right device output for your design). In seconds, Uizard will then transform your static UI design image into an editable design. You can update text and images, add new components from Uizard's components library, or expand the design with more screens and clickable links.
Uizard's screenshot converter is the perfect tool for kick starting a design project, but it's also great for iterating on your own designs. Whether you start with a MIdjourney generation or a screenshot of a landing page from an established design, creating stunning prototypes has never been faster or easier.
Midjourney prompting tips
Struggling with your Midjourney prompting? Getting great, relevant designs for your app or web design project can be difficult if you're not using the right terms. Here are our top tips to get the most out of your Midjourney generations.
Keep it simple
To get the most out of Midjourney, or any AI design tool for that matter, keep your prompt language and request as simple as possible. For UI designs, we recommend starting with a plain description of the type of app you want, followed by the specific page type you want, followed by your theme key terms. For example:
Specify device type
You'll notice in the prompt above that we also specified the device type (web app). Because design systems work so differently between device types, we recommend you specify what device type you would like your design presented in - this will ensure you get an output that looks and feels appropriate for the project you're working on.
Specify resolution
To really double down on device type, it's a good idea to specify output resolution. When playing around with Midjourney, we noticed that if you specify a device type but not the appropriate resolution, you end up getting overlapping multi-screen designs, or you're more likely to get screen designs presented at an angle (which isn't great for iterating on and also won't work as well in Uizard's screenshot converter where flat images are preferred).
To include resolution commands in your prompt, try adding the following:
Generating flat images
Speaking of flat images, to support your prompt and really ensure you get a flat image and not a design presented at a fancy angle, we recommend you include some key terms such as 'flat' or 'full screen'. This should help to ensure you get outputs that showcase the entire design in a flat profile.
Removing background content
Although not always necessary, quite often you might find that you are getting significant background detail outside of the core design that Midjourney generates. To combat this, try adding the terms 'no trim' or 'no background' to your prompt to improve the output!

Even with our tips, prompting in Midjourney can be a little hit or miss. Despite the high quality of the outputs it can provide, it's not the most reliable way of generating digital product designs, particularly if you want to generate multi-screen outputs. However, there is another way. If you have a concept for an app or website but you don't know how to go from idea to design, then Uizard Autodesigner is here to help...
Generate multi-screen, editable UI designs directly in Uizard!
Want to skip straight to multi-screen, editable UI design right here in Uizard? With Autodesigner you can go from idea to design in seconds using simple text prompts.
Where Midjourney creates static images for your product designs, Autodesigner generates multi-screen designs with built-in interactions between screens. With Uizard's easy-to-use, drag-and-drop editor, you can easily update the images, text, themes, or layout of your generated project to really make it your own.
Uizard transforms the digital product design process like never before. Go from idea to final design in a matter of minutes and handoff to your development team with smart export options. Sign up today and join the frontline of design innovation.
