How to go from wireframe to prototype

You’ve used a wireframing tool to create a stunning product wireframe, and now you want to turn it into something tangible that you can present to your team and test with your users.
Where a wireframe can be great for demonstrating your initial idea and intent, a prototype is the best way to demonstrate to stakeholders what your final design might look like from both a functional and aesthetic point of view.
Looking to move your design from wireframe to prototype? We cover all in our ultimate guide to transforming your graphical sketches to highly detailed, functional prototypes...
Wireframe mode in Uizard
Skip to section:
From wireframe to prototype in 6 easy steps
2. Sketch out your wireframes or use an online wireframing tool
3. Turn your wireframe into a mockup
4. Add user interactions to create a prototype
5. Test your prototype interactions
6. Share and collaborate in Uizard
From wireframe to prototype in 6 easy steps
A prototype is an interactive visual representation of your website. It enables you to simulate the user experience so you can see how people interact with your app or website before you make large and expensive design and development investments.
1. Map your wireframe
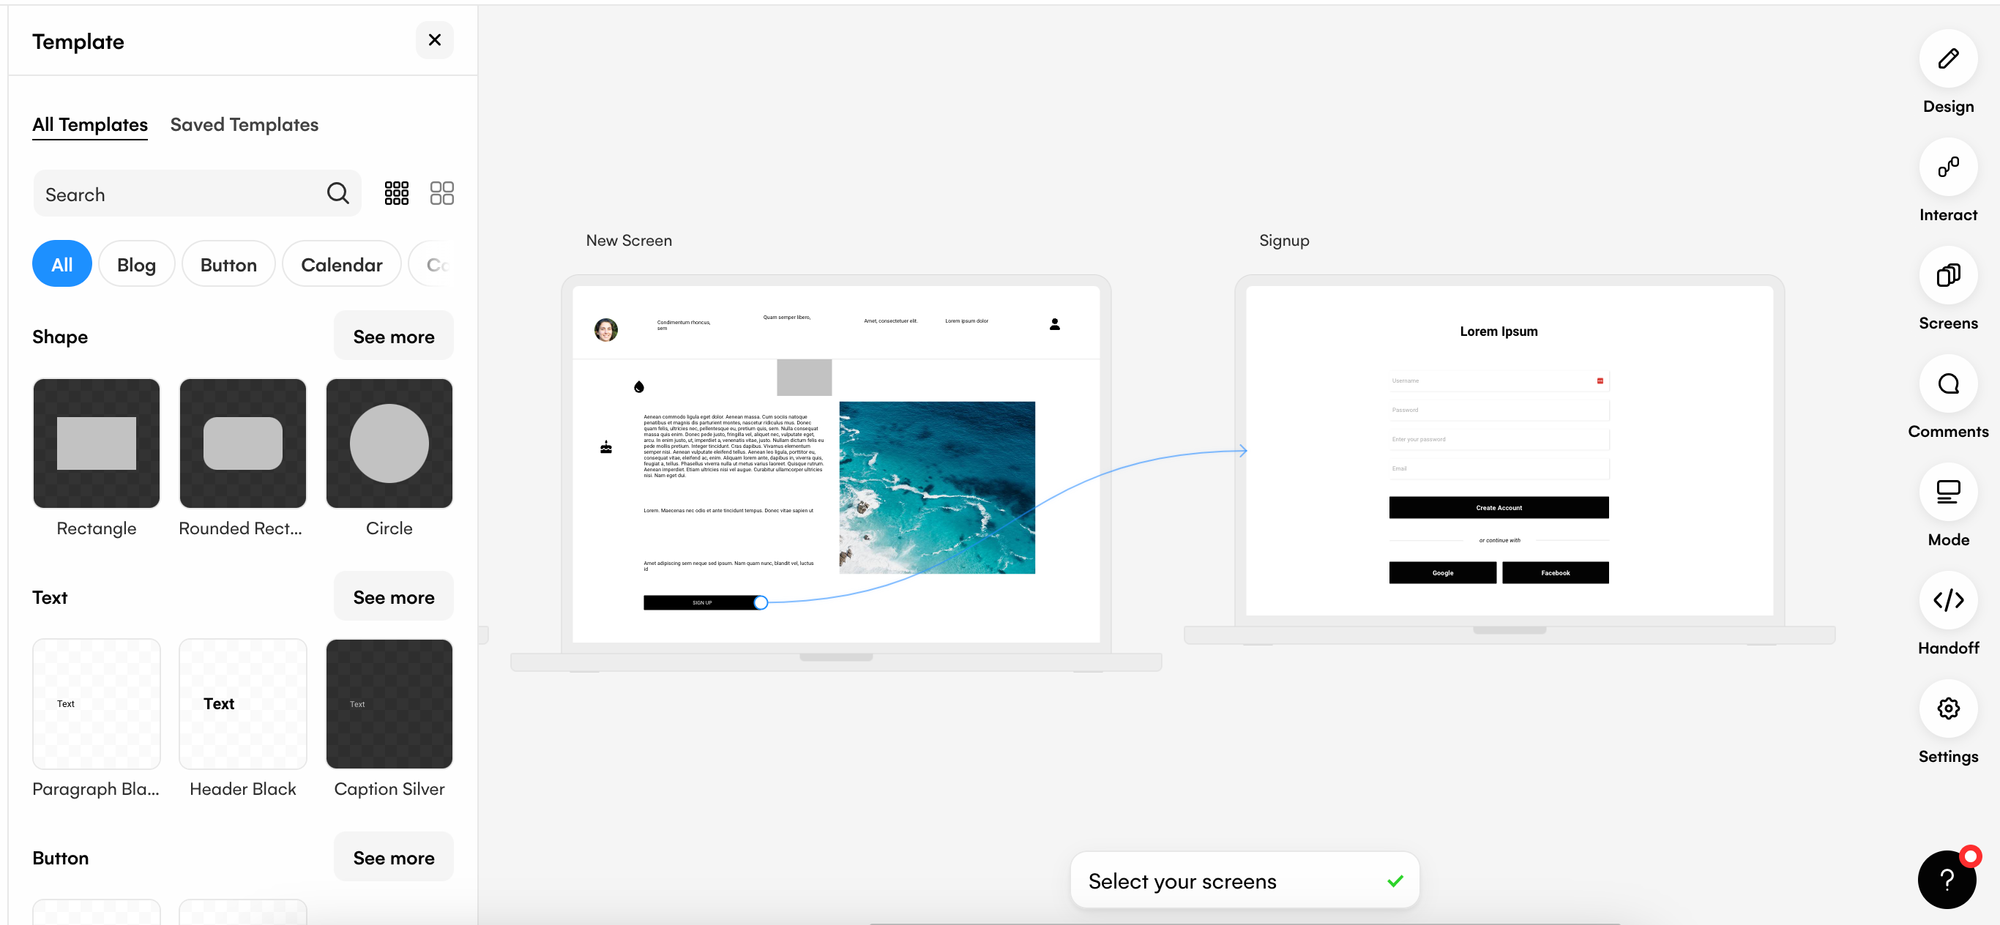
A wireframe map or wireflow catalogs all the ways that a user can navigate between screens of your wireframe. It’s a useful visualization that helps you bridge the gap between wireframe and prototype. Mapping out your wireframe helps you to see how the various elements and pages of your site are connected. It also helps you identify any screens that you may have forgotten to account for when creating your wireframe.
To start, identify and list all the screens that a user can see when visiting your website. This means all pages of your site, plus any variations of a given page that a user can see by interacting with your design. For example, if a user can click a button on your homepage to cause a video to pop up, you should list that screen separately from the homepage itself.
2. Sketch out your wireframes or use an online wireframing tool
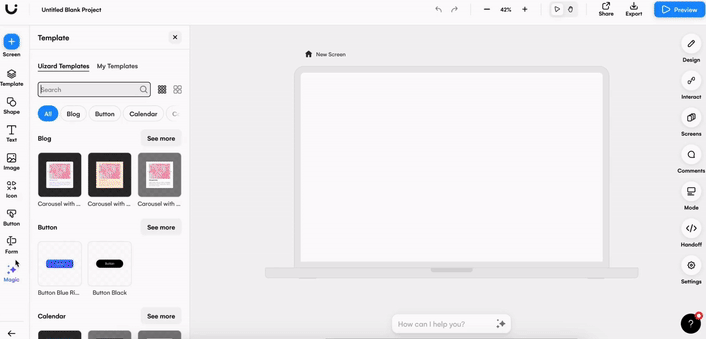
Now it’s time to sketch out your wireframes using your wireframe map. Drawing wireframes means getting to grips with the basics of your app or web design, and you only need a very simple sketch to represent the placement of components and elements within your wireframe. Alternatively, you could use a product design tool, like Uizard, to create a digital wireframe from scratch or from a template.
3. Turn your wireframe into a mockup
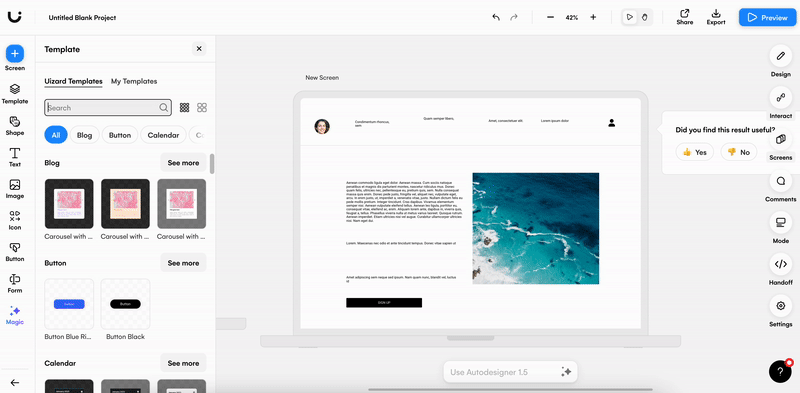
Once your wireframe is complete, hand-drawn or digital, you will want to populate your design screens with images, color and text. And this will turn your design from a wireframe into a mockup. To add more detail to your design, you will want to use a mockup tool. Preferably one that has a UI components library and an easy-to-use editor, like Uizard.
Uizard also offers various wireframe to mockup solutions, such as Wireframe Scanner. Here you can upload images of your wireframes and they are automatically transformed into editable mockups.
And to view your mockup as a wireframe once more, you can use wireframe mode in the magic tab to flick between high and low-fidelity. Uizard can help to make the process from wireframe to prototype quicker by assisting throughout each of the three stages.
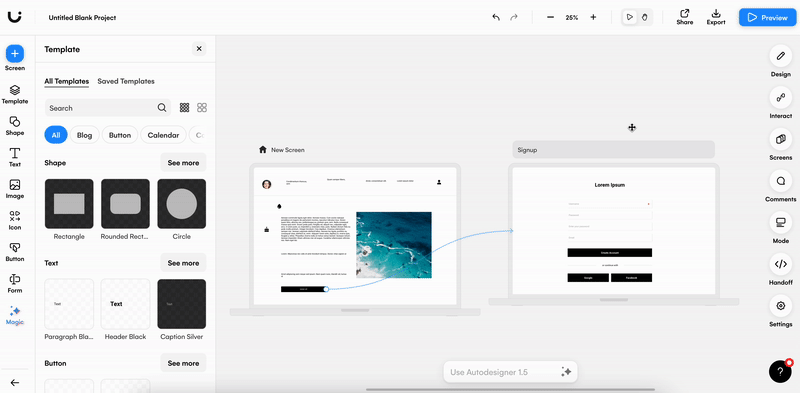
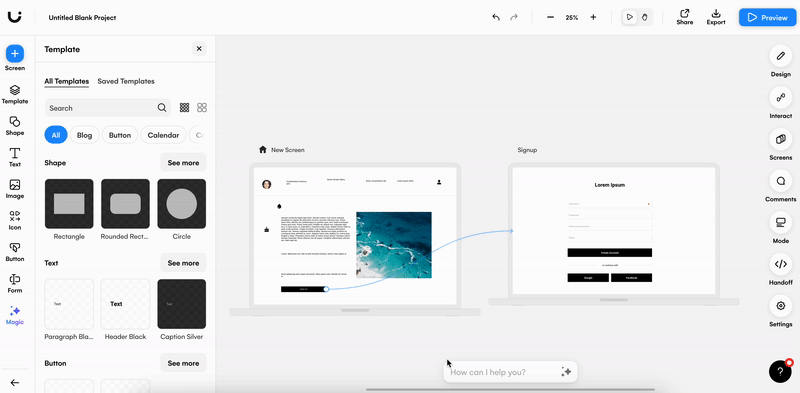
4. Add user interactions to create a prototype
How can you take your wireframe from mockup to prototype? Keeping in mind your wireframe map, and how a user would move through your design, you will need to add user interactions to your mockup. Using a prototyping tool, like Uizard, you can easily connect elements with relevant design screens to ensure a user flow throughout your design.
5. Test your prototype interactions
Before presenting your prototype to others, test your interactions to make sure that a user can navigate your app or website. To do this, switch to Preview mode using the button at the top right.
On the preview screen that appears, interactive elements that you’ve linked will be briefly highlighted.: You can then click through your prototype using the user flow interactions that you have added in. This is a great way to check that all of your interactions make sense, and that a user will end up where they need to be.
6. Share and collaborate in Uizard
Once you’ve created a prototype, you can then share it with others to get feedback via the comments function, or collaborate with team members in real-time to perfect your prototype. You can even export whole screens or copy a component’s CSS or React code to take your design elsewhere using Handoff Mode!
Go from wireframe to prototype with Uizard as your prototyping tool today!
Ready to start the journey from wireframe to prototype? You can sign up to Uizard for free or head over to the Uizard blog to find out more about the world of prototyping tools.