How to design a website prototype

Wireframes, mockups and prototypes each play a very important role in the web design process. And they represent the stages a web designer must go through to reach their final website design — a website prototype.
Prototyping design tools, like Uizard, allow web designers to create website prototypes that are not only aesthetic to look at, but map the user flow too. This is especially important for user testing and checking the functionality of a web design.
The focus of this article will be website prototyping, what it is, and how you can use Uizard to go from wireframe to website design prototype.

Skip to section:
How to create a website prototype in 4 steps
- Conceptualize a web design idea
- Sketch out your wireframes
- Create a mockup using Uizard
- Prototyping a website
What is the purpose of a website prototype?
What is a website prototype?
A website prototype serves as a visual representation of a website design, and they are used to demonstrate functionality and interactivity. Web prototypes are high-fidelity designs; they use a combination of elements, components and finalized copy to show what the finished product would look like. Website prototypes are also used to test user experience by mapping the user flow between design screens using a combination of elements and components. For instance, a web designer would map the user flow between a ‘Sign up now’ button and the design screen that contains the sign up page.
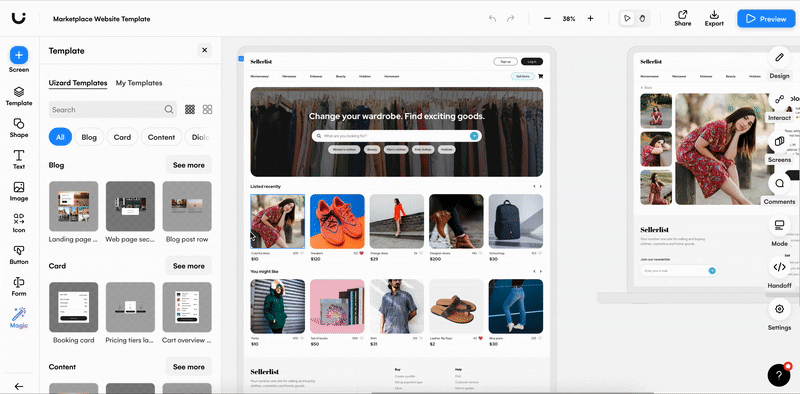
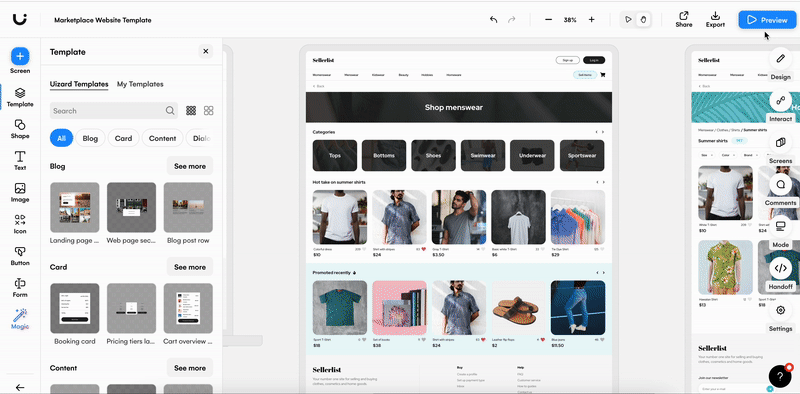
Uizard is an example of a design tool that can be used to create web design prototypes. With a user flow mapping functionality, as well as a handy drag-and-drop editor for moving and adding new elements and components, it makes prototyping a breeze.
How to create a website prototype in 4 steps
Creating a website prototype doesn’t have to be tricky or confusing, and with a little help from Uizard, you’ll see just how easy it can be. After four simple steps you will have completed your website prototype, equipped with all of the elements and components your users will need.
Conceptualize a web design idea
You probably already have an idea for your web prototype, but just in case you don’t, this first step is all about pinpointing what your project is, and who you are designing for. Whether you are working alone or as part of a team, brainstorming ideas is a great place to begin. For instance, are you creating a blog or an e-commerce web design? Perhaps you are designing a SaaS website or, say, an e-commerce store that sells wedding stationery collections? Understanding your project and audience in detail will aid you in creating a website prototype.
Sketch out your wireframes
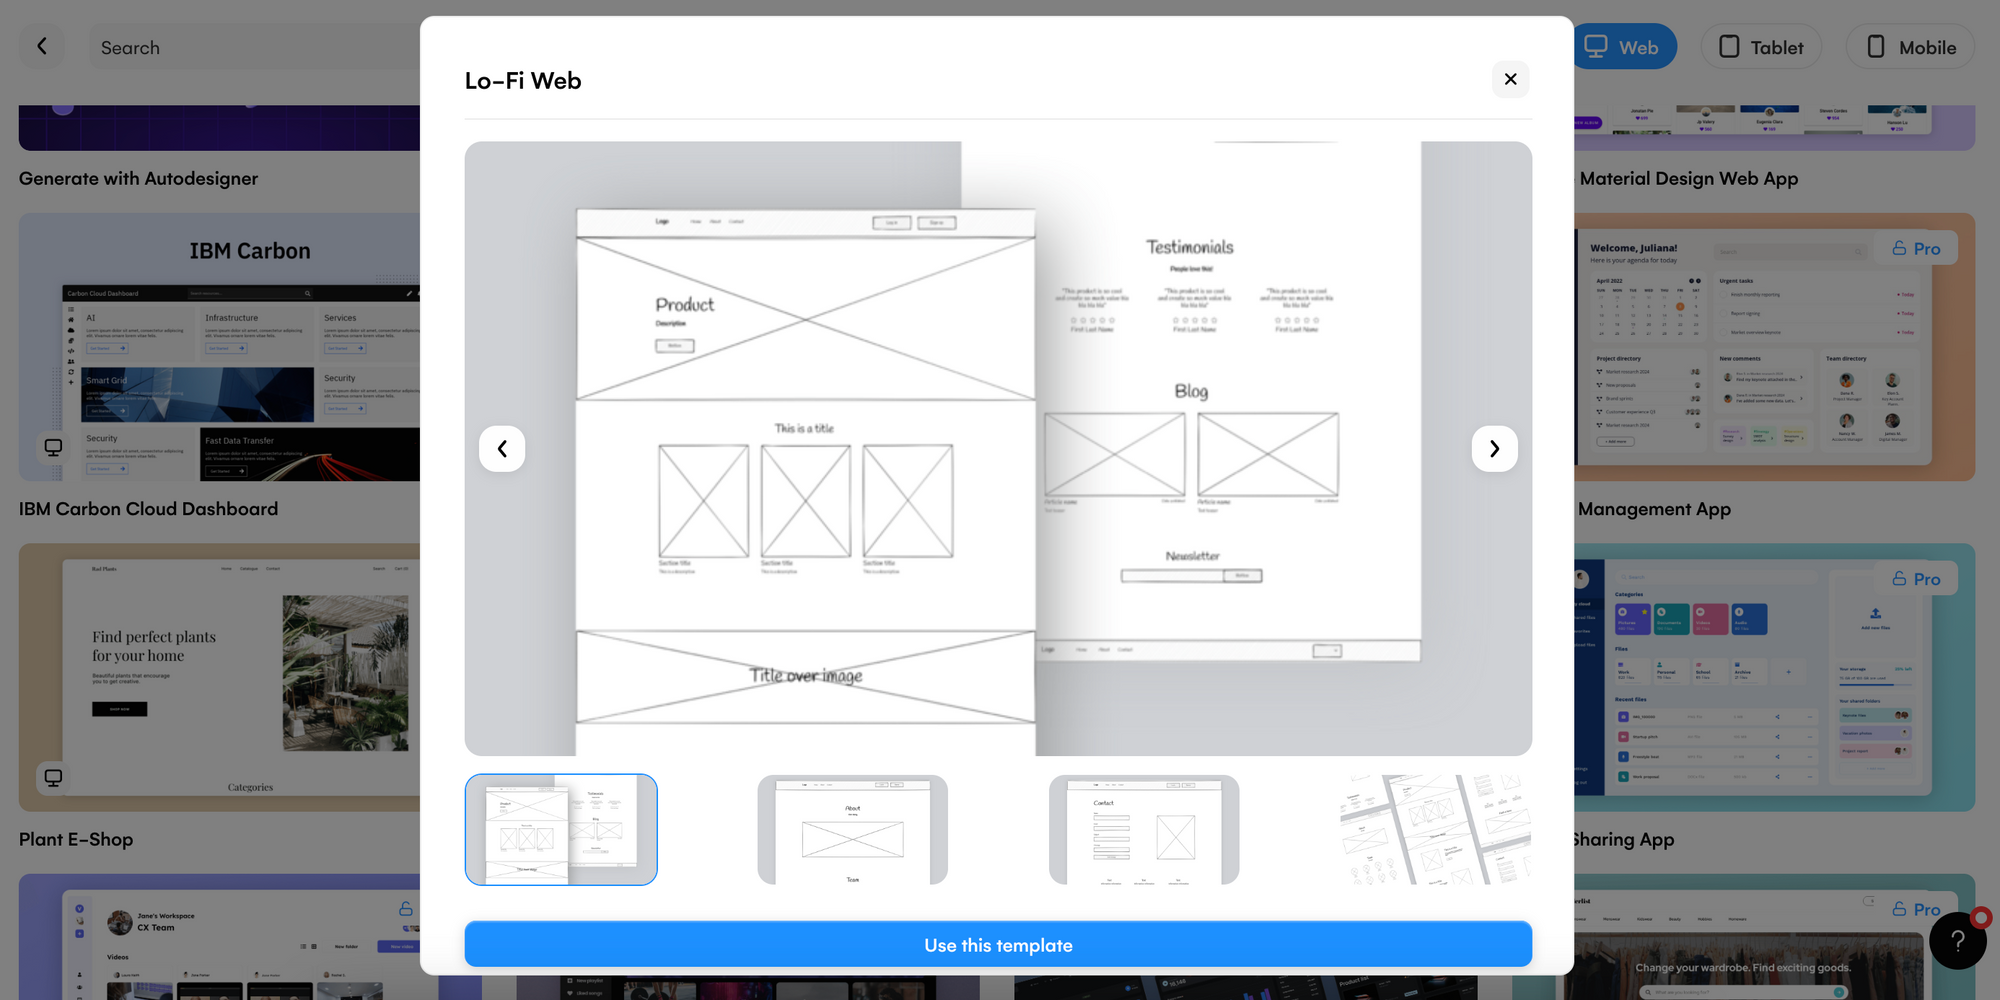
To kick-off the website prototyping process, start with a basic wireframe sketch of your web design. Include rough outlines of the components and elements you want in your prototype, as well as blocks to represent any other design aspects. You can draw this by hand on a piece of paper, or start with a Uizard website wireframe template and edit your web wireframes digitally. At this point, color and detail is not necessary but it doesn’t hurt to start considering these aspects in preparation for the web mockup stage.
For more information, take a look at our ‘Website wireframing step-by-step guide’.
Create a mockup using Uizard
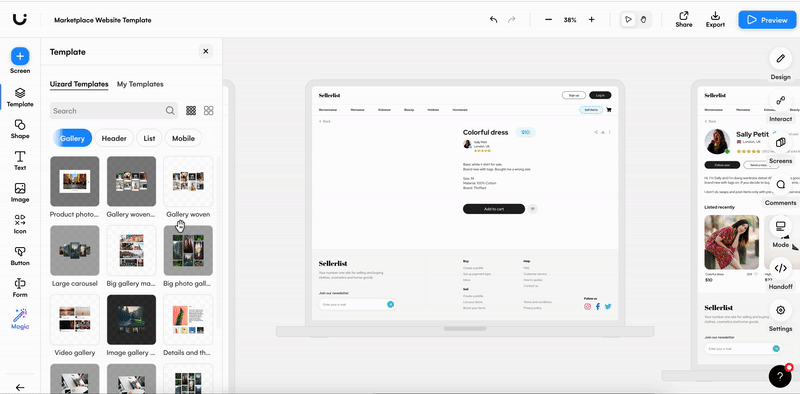
Once the web wireframing process is complete, it’s time to create a web mockup, and with Uizard, this is super simple. If you have hand-drawn wireframes you can easily import a picture with Wireframe Scanner and convert your design straight into a mockup. To learn more about this check out the video below:
Or if you have opted for the website wireframe template you can turn Wireframe Mode off to convert your wireframe screens straight into editable web mockups. At this stage you will need to decide which colors would suit your demographic or branding, the image assets that you might need to enquire about, and the content that will need creating. However you can leave long-form copy to be added in the prototype phase.
You can directly edit each design screen to add more detail and color. Using the drag-and-drop editor you can add elements such as text and icons, and ensure the proper alignment of components with the snapping guidelines. Use Uizard’s color picker or generator as a fun alternative when changing the color of elements, components and design screens.
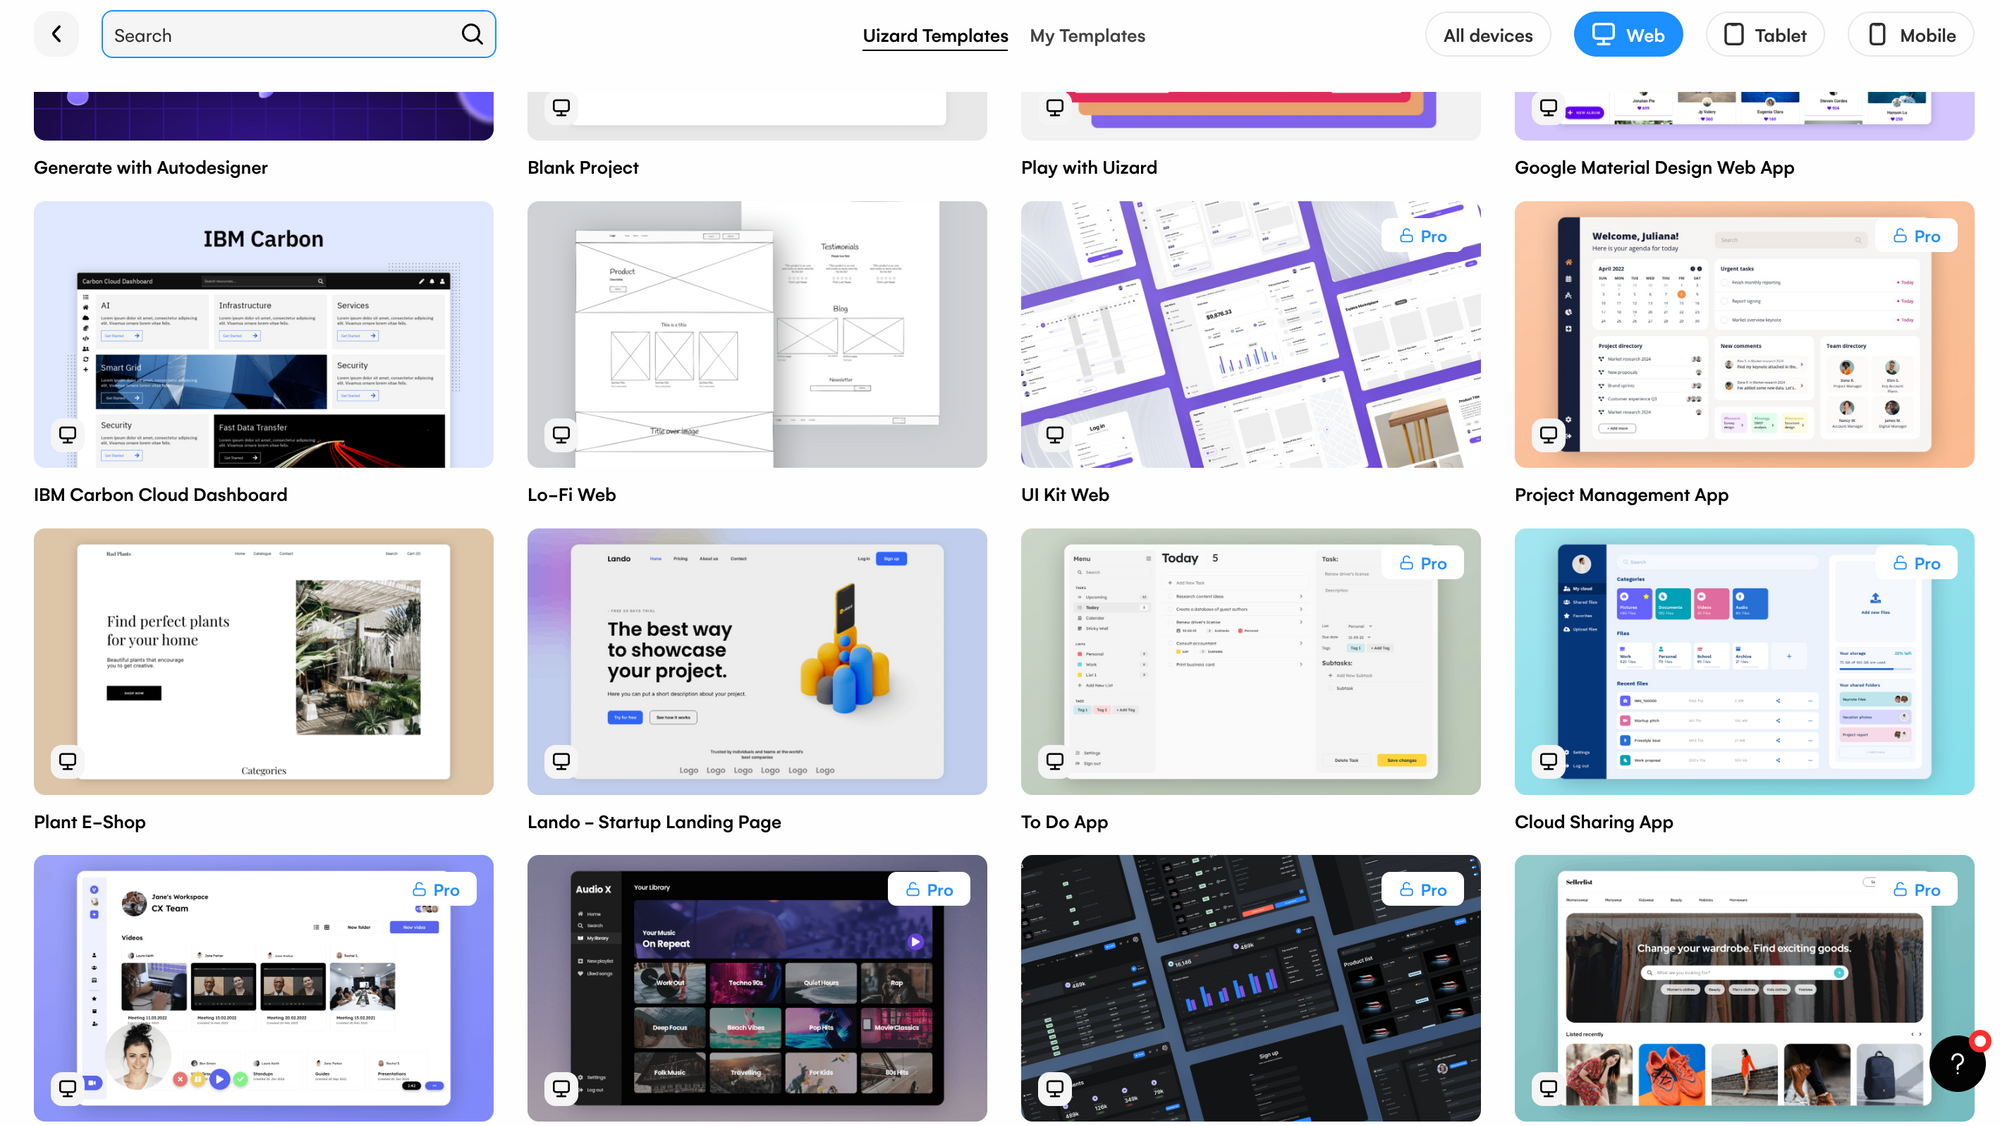
To bypass this step you also have the option to choose a Uizard web design template. Pick a premade web template that aligns with your web design idea, edit it to your liking, and now you have everything you need to go straight from web mockup to prototype.
Prototyping a website
Now you are finally ready to start prototyping your web design. You have a web mockup, complete with components, elements, images and snippets of text, how can you take it to the next level? As website prototypes represent your final design, this is the point to add longer sections of content, and extra detail that may have been missing from your mockup.
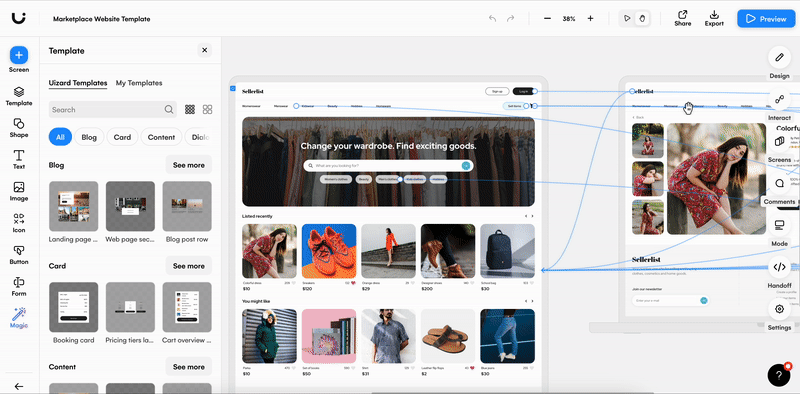
You will also need to demonstrate the usability of your web design. With some help from Uizard, you can map the user flow between your design screens. Simply click on an element, select the lightning bolt icon next to it, and this will allow you to connect this element to the design screen of your choice.
User flow mapping is used to demonstrate the functionality of your web design and this is what will turn it from a web mockup into a fully-fledged website prototype. To take this one step further, the preview function in Uizard grants you the ability to click through your website prototype as a user would. Here you can test your web prototype for yourself or share the design for others to do the same. And now your website prototype is finalized and ready to be sent over to a web developer to get it up and running.
What is the purpose of a website prototype?
Not only does a website prototype help to perfect the visual aspects of a web design through several rounds of feedback and iteration, but it is also the point in the design process where user testing takes place. A website prototype design can be used to test both user experience and the usability of a web design. Prototyping is a crucial stage due to this, and can really help web designers to iron out any user flow issues before they pass over their design to a developer to build the final product, add web animations, and ship.
Website prototype software can be expensive and complicated. But with Uizard, rapid website prototyping awaits, so why not get started and sign up today? If you’re interested in learning more about prototyping, our blog has lots of helpful articles to bring you up to speed.