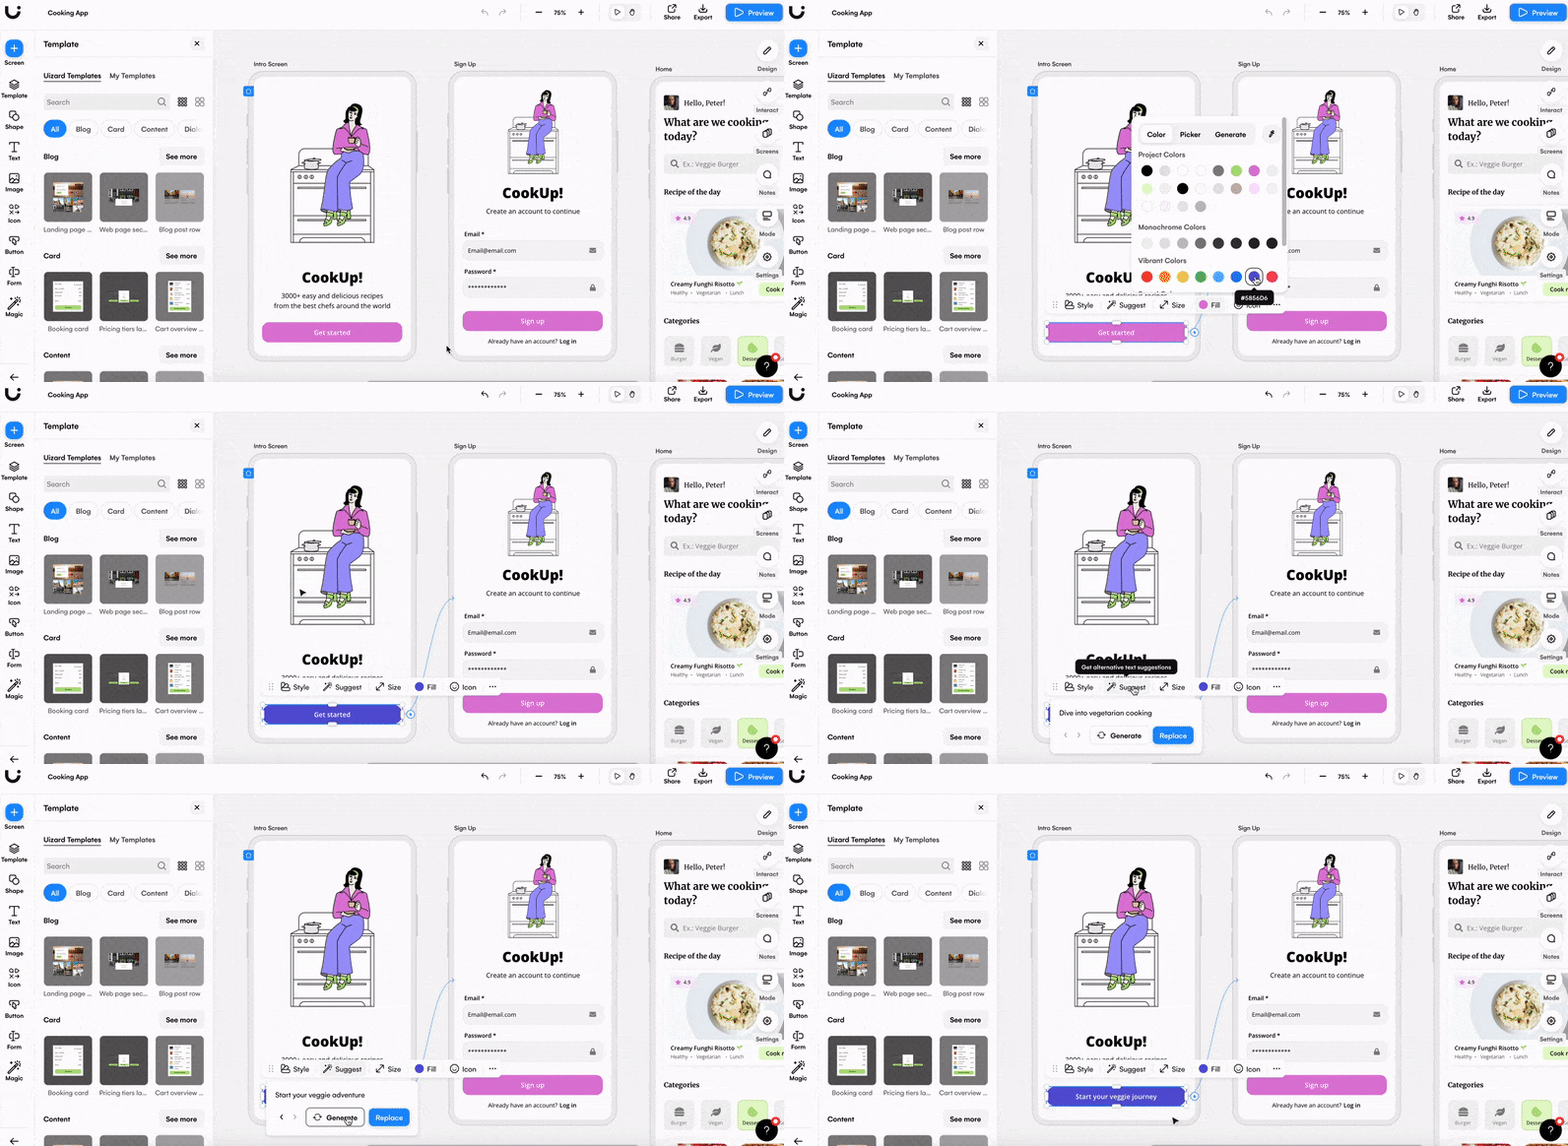
Uizard’s Quick Tips: How to use the Uizard platform

Uizard is an easy-to-use design tool, but it’s even easier when following the Uizard Quick Tips series. In this article, ten tips will be shared to help you get started and make the most of your design time in Uizard. From onboarding, to adding images to collaborating with others, everything you need to know about creating UI designs in Uizard will be covered here.

Skip to section:
1. Getting started with Uizard
2. How to use design templates in Uizard
3. How to use Uizard's drag-and-drop editor
4. Using UI components in Uizard
6. Adding screen interactions in Uizard
7. Using custom templates in Uizard
8. Previewing a project in Uizard
9. How to share your project in Uizard
10. How to collaborate in Uizard
1. Getting started with Uizard
To start your design journey with Uizard, you will first need to sign up and set up an account. There are three plans you can pick from, Free, Pro or Business, and depending on who you are, and what you will be using Uizard for, you can choose accordingly. Uizard’s Free plan will cost you nothing, but the Pro plan will charge you $12, and the Business plan will cost $39. There are lots of amazing features that come with Uizard’s paid plans, for instance Uizard Autodesigner is only available for Pro and Business users.
After signing up, the fun begins. The first screen you will see is the project creation screen, and from here you can either start from scratch, with a premade UI design template, or if you’re a paid user you can start with Autodesigner. Once making your selection you will land in the Uizard editor. Here you will find right and left control panels, as well as a share or invite function in the top right corner. A training menu will appear on the right hand side of your screen, and following these intro tasks will bring you up to speed on how to effectively use Uizard to create designs.
2. How to use design templates in Uizard
To use a premade UI design template, simply head over to the template library located in the second tab on the project creation screen. Here you will find a range of pre-built templates. To sift through these templates, you can either use the device buttons on the right side to locate a specific device template, or via the search function at the top.
Use the arrows on the template preview to scroll through the design screens, or click on a template to view it in a larger format. In this larger format you can go ahead and click ‘Use this template’ to get started. Or, from the template menu, hover over a template, click the ‘create’ button, and select a device to begin.
Once in the Uizard editor, you can personalize your UI template. With all of the screens and components you will need included, all you need to do is edit to your liking. Each template also comes equipped with interactions mapped between design screens — which you can see in action using the preview mode in the top right corner.
3. How to use Uizard's drag-and-drop editor
Design faster and easier than ever before with the drag-and-drop editor in Uizard. Add new UI components and elements to your design screens in one simple motion.
Simply pick a tab from the left control panel, choose an element or component template, and drag and drop it onto your design. And with a wide selection to choose from, you’ll never run out of options. Using Uizard’s snapping guidelines, you can effortlessly align your chosen element or component to ensure a perfect design.
4. Using UI components in Uizard
The premade UI components in Uizard allow you to design at speed. Found on the left panel, the components library contains a wide array of templates that can be dragged and dropped onto your design.
Using the search functionality in the components library, you are sure to find what you need to complete your design. Likewise, you can also use the tags (ie blog, card, content) to search for a component. Dragging a component onto a design screen means that you can then customize and personalize it to fit your project. Each component will already align with the colors used on your design, which gives you more time to edit your project elsewhere.
5. Using images in Uizard
Adding images to your design screens in Uizard is simple. On the left hand control panel you will find the image tab. Clicking this will bring up several image related options. Either you can search for an image on Unsplash or Giphy, upload one yourself, or use AI to generate an image.
Uizard’s Image Generator is also found in the magic tab, and requires just a few simple prompt descriptions to auto-generate an image. Whichever option you select, you can drag and drop your image onto your chosen design screen. From here, move your image to the desired position.
6. Adding screen interactions in Uizard
Turn your designs into clickable, interactive prototypes by adding screen interactions in Uizard. If you begin your project with a design template, you will already have a pre-mapped user flow, which you can view and test using preview mode.
If you are starting from scratch, or would like to add in a few more interactions, you can do so with ease. Select a component or element, and drag the lightning icon to your target screen. This will link the two, and create a screen interaction.
Create multiple links on each design screen, as well as return links, to make a fully interactive design. Using the ‘Interact’ tab on the right control panel, you can view all of your interactions right there in the editor.
7. Using custom templates in Uizard
Looking to make your very own custom template in Uizard? Whether it’s a whole screen, or a group of elements, you can turn this into your own custom template. All you have to do is select what you would like to include, which will open up the right design control panel and scrolling to the bottom you will find an option to create a custom template. Click ‘Create template’ to name your component, and to add relevant tags too.
This custom component can then be located under ‘My templates’ in the left hand side components library. Use the search function, or the tags you have assigned, to find each custom template. From here just drag and drop your component onto your design. Each custom component you make will save to your account and can be accessed across all of your Uizard projects.
8. Previewing a project in Uizard
Once your user flow interactions have been mapped out across your design, you can click the preview button in the right hand corner to interact with your design. Your project will open up in a new tab, and here you can view to see how it would look to a user.
This function turns your design into a fully-interactive design, which means you can click wherever you have added a screen interaction, and it will take you to the page it has been linked to. Switching to the ‘Overview’ tab at the top of the screen allows you to view the whole project.
Preview mode is great for testing functionality and usability, but it also offers collaborative and iterative options too. You can leave notes and comments on your previewed design in order to improve the UX of your design.
9. How to share your project in Uizard
Share your project with others for feedback and collaboration in Uizard. All you need to do is click the ‘Share’ button in the top right corner of the user interface. Within the pop up message, you can invite others via email to view and leave feedback on your project. Or, you can invite them as creators to directly edit your design.
If you simply want to share the aesthetics of your Uizard project, you can do this too. Just share the link, or copy the embed code to use your design elsewhere on the web.
10. How to collaborate in Uizard
Invite friends, colleagues and clients to collaborate as creators in real-time using the share function in the top right corner. Once they have joined your organization, you can work simultaneously together.
The notes option in the right hand design panel provides you and your collaborators with the ability to add comments to areas of the design. Each note produces a thread where you can discuss design choices and get a dialogue going. To close a thread, simply click resolve to archive your messages. Boost collaboration and design with Uizard.
Get started with a UI design today and sign up to a Uizard free or paid plan. Create designs from scratch or from one of our expertly created UI design templates.
